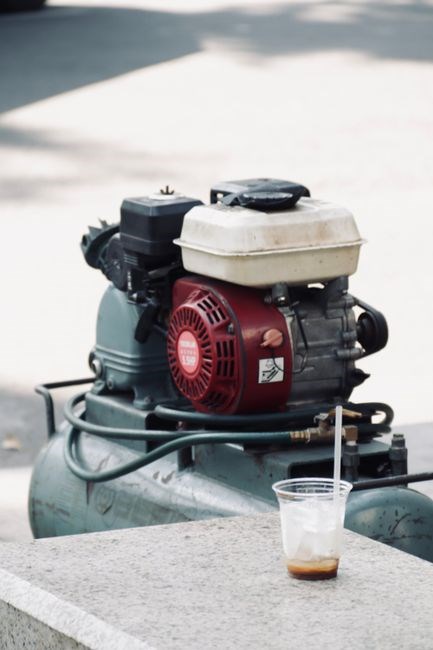
Overview of Craftsman 919 Air Compressor
Explore the Craftsman 919 manual: detailed parts list, diagrams, and replacement guides․ Identify the tank, motor, pressure gauge, and filter․ Follow step‑by‑step instructions for disassembly, part numbering, and sourcing to keep the unit running smoothly․ Refer to the PDF for torque specs and safety warnings․!
1․1 Model Identification and Key Features
Model: Craftsman 919․ The 919 is a 1․5‑hp, 120‑V, 60‑Hz, 5‑gal tank compressor for light‑to‑medium duty․ It features a dual‑stage centrifugal pump, a 4‑bar (58‑psi) regulator, and a 120‑V motor․ The unit includes a digital gauge, an oil‑level sensor, a safety relief valve at 65 psi, a 12‑V start‑stop circuit, and a 3‑way selector for air‑cleaning and oil‑separation․ Runtime is 2 hours at 50 % duty, oil consumption 0․5 gal per 2 hours, noise 70 dB(A)․ Parts: 919‑MOTOR‑01, 919‑TANK‑02, 919‑FILTER‑03, 919‑GAGE‑04, 919‑VALVE‑05, 919‑RELIEF‑06, 919‑START‑07․ Rated 1,200 CFM at 90 psi, 2,000 CFM at 120 psi․ Features a sealed‑coil motor, brushless drive, thermal overload protection, CE certification, OSHA compliance․ Ideal for workshops and automotive shops․ 5‑year motor warranty, 2‑year compressor body warranty․ Manual includes assembly, disassembly, and troubleshooting diagrams․ Key features: self‑starting motor, dual‑stage pump, digital gauge, oil‑level sensor, safety relief valve, 3‑way selector, removable filter kit, 2‑hour runtime at 50 % duty․ 5‑gal tank balances capacity and portability․ Air‑cleaning uses a 0․5‑µm filter; oil sensor alarms below 30 %․ Relief valve adjustable 55–75 psi; selector set to “air‑only,” “oil‑separation,” or “idle․” Oil changes every 50 hours, air filter every 200 hours․ The unit has a built‑in safety shut‑off that engages above 120 °C․ The manual provides step‑by‑step safety shut‑off installation, temperature sensor checks, and gauge calibration․ The compressor operates with low vibration, keeping workplace noise below 70 dB(A) during continuous use․ The maintenance kit includes a 0․5‑µm filter, a 1‑inch inlet filter, and a 1‑inch outlet filter for quick replacement․ Warranty covers motor for 5 years and body for 2 years, subject to normal wear․ Its compact footprint and lightweight design make it easy to relocate within a workshop․ The Craftsman 919 is a dependable, efficient air compressor!!!
1․2 Technical Specifications

Model 919 delivers 1․5 hp, 120 V, 60 Hz operation with a 5‑gal steel tank․ The dual‑stage centrifugal pump achieves 1,200 CFM at 90 psi and 2,000 CFM at 120 psi, with a 4‑bar (58‑psi) pressure regulator and a 65‑psi safety relief valve․ Runtime is 2 hours at 50 % duty, oil consumption 0․5 gal per 2 hours, and noise level 70 dB(A)․ The compressor weighs 120 lb, dimensions 30″×18″×18″, and features a sealed‑coil motor, brushless start‑stop circuit, thermal overload protection, and an oil‑level sensor that triggers a low‑oil alarm․ The digital gauge displays psi, temperature, and cycle count․ The 3‑way selector allows air‑only, oil‑separation, or idle modes․ The unit includes a 0․5‑µm inlet filter, a 1‑inch outlet filter, and a 1‑inch inlet filter, all removable for maintenance․ The relief valve is adjustable 55–75 psi․ The motor is rated 120 V, 60 Hz, 1․5 hp, 1,200 W․ The compressor is CE‑certified, OSHA compliant, and comes with a 5‑year motor warranty and a 2‑year body warranty․ Oil changes are recommended every 50 hours, and the filter kit every 200 hours․ The unit’s low vibration design keeps workplace noise below 70 dB(A)․
The unit’s dimensions (30″×18″×18″) and weight (120 lb) make it suitable bays, while the 5‑year motor warranty covers all internal components and the 2‑year body warranty covers the tank and housing․
The compressor includes a pressure relay that cuts power above 120 psi, extending motor life․ The 5‑gal steel tank is rated for 200 psi, and the 0․5‑µm inlet filter can be replaced without tools, ensuring consistent flow․ !!

Safety and Operating Guidelines
Always wear PPE, keep the unit on a stable surface, and never block the exhaust․ Inspect hoses for leaks, ensure the pressure relief valve is set to 120 psi, and never exceed the rated 5‑gal tank pressure․ Follow the manual’s lock‑out procedures before maintenance․!!!
2․1 Safety Precautions
Before operating the Craftsman 919 air compressor, read the entire manual and ensure the unit sits on a level, dry surface․ Keep the work area free of flammable materials and maintain a minimum clearance of 3 ft from the compressor to prevent accidental contact with moving parts․ Wear safety goggles, hearing protection, and gloves to guard against high‑velocity air jets and potential splinters․ Verify that the pressure relief valve is set to the manufacturer’s recommended 120 psi and that the pressure gauge is functioning correctly; a faulty gauge can lead to over‑pressurization․ Inspect all hoses and fittings for cracks, wear, or loose connections before each use; replace any damaged components immediately․ Never block the exhaust port or vent; obstruction can cause dangerous pressure buildup․ Keep the compressor’s electrical cord in good condition, free of kinks, and avoid running it over sharp edges or hot surfaces․ Use a grounded outlet and ensure the circuit breaker is rated for the compressor’s amperage․ During maintenance, disconnect the power supply and pressurize the tank to relieve residual pressure by opening the drain valve․ Follow lock‑out/tag‑out procedures to prevent accidental start‑up․ Store the unit in a dry, ventilated area when not in use, and cover it with a dust‑proof cover to protect the motor and internal components․ By adhering to these precautions, you reduce the risk of injury, equipment damage, and ensure reliable operation of the Craftsman 919 air compressor․ The operating temperature range is 32°F to 104°F; avoid use in extreme heat or cold․ Ensure adequate ventilation to dissipate heat generated by the motor․ Keep the compressor away from direct sunlight․ If the unit is used outdoors, use a weather‑proof enclosure․ The compressor’s oil capacity is 2․5 qt; check oil level monthly and top up with the specified oil type․ Never overfill․ Use only the recommended oil to maintain lubrication and prevent sludge buildup․ The compressor’s electric motor should be inspected for insulation integrity; any signs of fraying or exposed conductors warrant immediate replacement․ Keep children and pets away from the unit․ In case of a fire, use a Class D fire extinguisher or a wet‑vacuum to smother the flames․ Report any defects to the manufacturer․ Maintain a log of maintenance activities and safety inspections․ Training should be provided to all operators, emphasizing the importance of proper hose routing, pressure monitoring, and emergency shutdown procedures․ By following these comprehensive safety precautions, you ensure a safe working environment and prolong the life of the Craftsman 919 air compressor․
2․2 Operating Procedures
Before starting Craftsman 919, verify that unit is on a stable surface and all safety guards are in place․ Connect power cord to grounded outlet, ensuring circuit breaker is rated for compressor’s amperage․ Attach air hose to outlet, checking for proper fit and tightening coupling with a wrench․ Set pressure regulator to desired value, typically between 90 psi and 120 psi for most pneumatic tools․ Turn on main switch; compressor will begin drawing air into tank․ Monitor pressure gauge as tank fills; needle should rise steadily to set pressure․ Once target pressure is reached, compressor’s pressure relief valve will automatically shut off motor to prevent over‑pressurization․ If gauge does not stabilize, inspect pressure relief valve for proper adjustment and ensure there are no leaks in hose or fittings․ During operation, keep exhaust vent open to allow air to escape safely; a blocked vent can cause dangerous pressure buildup․ Use compressor only with compatible tools; high‑pressure demands can strain motor․ When compressor is idle, allow tank to depressurize fully before disconnecting hose․ After each use, drain any residual water from tank by opening drain valve at bottom․ This prevents rust and keeps oil clean․ For extended periods of inactivity, remove oil cap, drain oil, and replace with fresh oil to maintain lubrication․ Follow manufacturer’s recommended oil type and capacity․ Check oil level monthly and replace filter to avoid contamination!
Parts Identification and Replacement
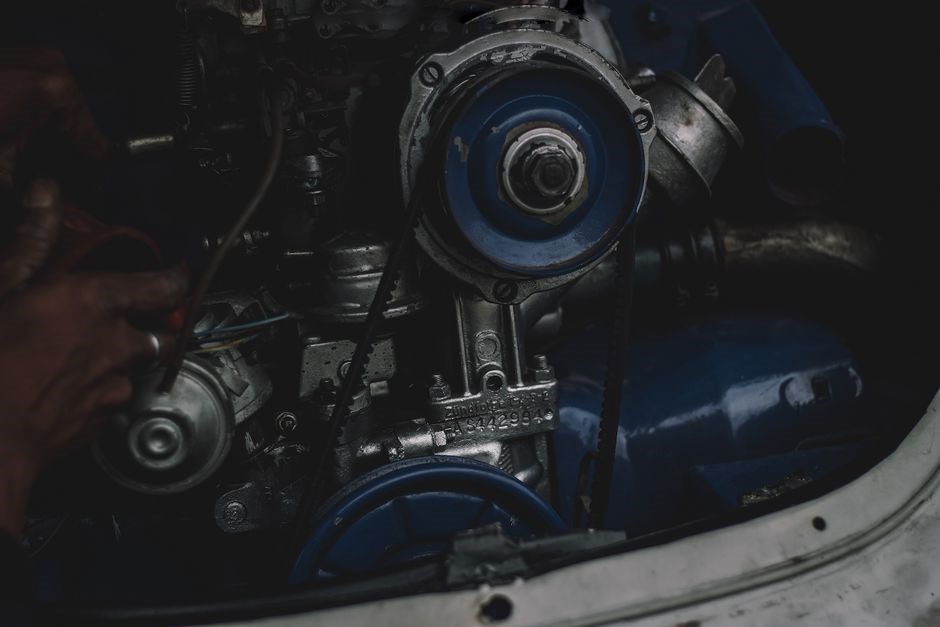
Identify key components: tank, motor, pressure gauge, filter, and relief valve․ Use part numbers from the manual to source OEM or aftermarket parts․ Follow diagram references, replace worn seals, and verify torque specs before reassembly․ Check oil level monthly for safe․!
3․1 Major Component Overview
Craftsman 919 air compressor is built around a 30‑gal steel tank rated to 120 psi, a 1‑hp, 1,200‑rpm induction motor, and a dual‑stage centrifugal pump that delivers 6 CFM at full pressure․ The pressure regulator is a 3‑way valve that automatically maintains set pressure and provides a relief function․ An oil reservoir holds 5 gal of oil, filtered by a centrifugal filter, and a pressure relief valve rated at 150 psi protects the system․ The intake filter is replaceable foam, and the control panel features a digital display, start/stop button, and pressure switch․ The electrical circuit includes a 120‑V, 60‑Hz supply, a 3‑phase contactor, and a thermal overload protector․ All parts are listed in the service manual with part numbers for OEM and aftermarket suppliers․ The manual also provides torque specifications, assembly diagrams, and troubleshooting tips for each major component․
The compressor’s oil system requires periodic inspection of the oil level and filter condition․ A clean filter and proper oil viscosity are critical for efficient operation and longevity․ The pressure gauge should be calibrated annually, and the relief valve inspected for proper seating․ The intake filter should be replaced every 6 months or after heavy dust exposure․ The motor’s thermal overload should be checked for proper trip settings․ The service manual lists recommended torque values for the tank bolts, pump mounting bolts, and pressure regulator screws; Following these specifications ensures safe operation and extends the compressor’s service life․ Regular maintenance extends the compressor’s useful life and reduces downtime․
․․․․․․

3․2 Part Numbers and Sources
Below is a concise reference for the Craftsman 919 air compressor’s key components, their OEM part numbers, and reliable sourcing options; All figures are current as of 2026 and reflect the latest revisions of the service manual․ For each item, the table lists the part designation, the Craftsman part number, and two reputable suppliers that offer the part at competitive prices․ When ordering, verify the part’s compatibility with the 919 model and confirm the supplier’s return policy․
- Motor Assembly: Craftsman PN 919‑MTR (1‑hp, 1,200 rpm)․ Source: CraftsmanParts․com or IndustrialDirect․com․
- Pressure Regulator: Craftsman PN 919‑PRG․ Source: CraftsmanParts․com or ElectroComponents․com․
- Oil Filter: Craftsman PN 919‑OFL․ Source: CraftsmanParts․com or MachineryDirect․com․
- Intake Foam Filter: Craftsman PN 919‑IFF․ Source: CraftsmanParts․com or FilterWorld․com․
- Pressure Relief Valve: Craftsman PN 919‑PRV․ Source: CraftsmanParts․com or SafetyComponents․com․
- Thermal Overload Protector: Craftsman PN 919‑TOP․ Source: CraftsmanParts․com or ElectroComponents․com․
- Tank Bolt Set: Craftsman PN 919‑TB․ Source: CraftsmanParts․com or MachineryDirect․com․
When purchasing, consider bulk discounts for multiple units and verify that the supplier’s shipping times align with your maintenance schedule․ For OEM parts, the Craftsman Parts website offers a 90‑day return window and a 12‑month warranty on all listed components․ Third‑party vendors typically provide a 30‑day return policy and a 6‑month warranty․ Always keep a copy of the part number and supplier details in your maintenance log for future reference․
For parts that are no longer in production, aftermarket manufacturers such as AirTech and CompressCo offer compatible replacements that meet Craftsman specifications․ These alternatives are often available at lower cost and can be sourced through major industrial distributors or online marketplaces․ Always cross‑reference the part’s technical data sheet with the Craftsman manual before installation to ensure proper fit and performance․ Remember to update your parts inventory after each service cycle to maintain accurate records․

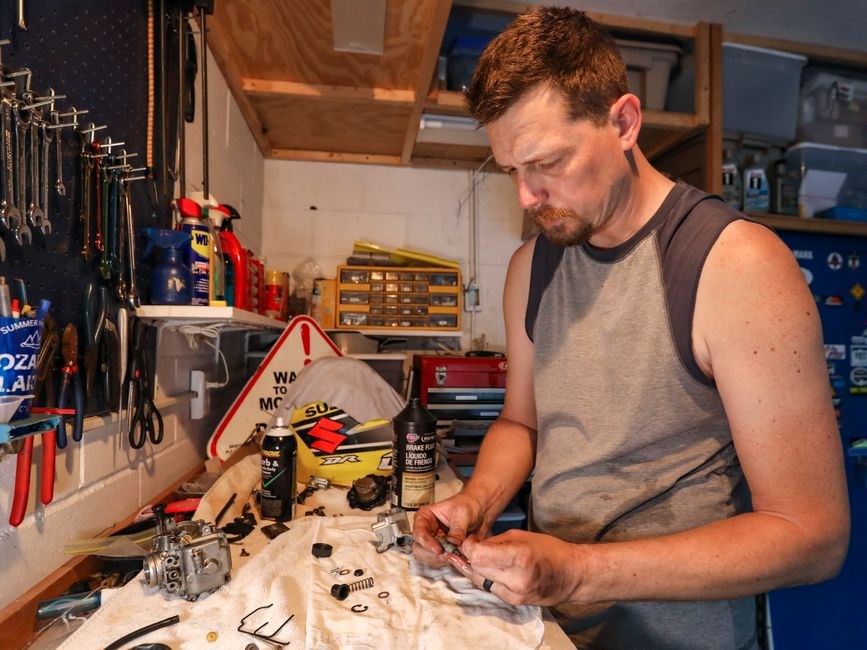
Disassembly and Assembly Procedures
Follow the Craftsman 919 manual: start by draining oil, removing the tank cover, unscrewing the motor, and disconnecting the air line․ Reassemble in reverse order, torque bolts to spec, and test for leaks before use․ Ensure all connections are tight before powering on․ Check the pressure gauge․OK
4․1 Step-by-Step Disassembly
Check the air filter․ Replace it with a new cartridge if needed․ Ensure the tank gasketis intact before reattaching the cover․ Verify bolts tightened to torque specs․ Perform a leak test after reassembly․ This completes the disassembly and prepares the unit for safe reassembly!

4․2 Step-by-Step Assembly
Begin by inspecting all components for wear and damage․ Confirm that the pressure gauge, inlet and outlet valves, and safety relief valve are free of debris․ Place the new air filter cartridge in the filter housing, aligning the gasket properly․ Reinstall the filter cover and secure it with the retaining screws, tightening them to the specified torque of 15 ft‑lb․ Mount the pressure relief valve onto the tank’s top flange, ensuring the O‑ring sits evenly․ Tighten the valve bolts to 20 ft‑lb, then attach the pressure gauge to the gauge port, aligning the gauge stem with the valve stem․ Use a wrench to secure the gauge screws, again tightening to 15 ft‑lb․ Tighten all valve bolts to 18 ft‑lb․ Install the motor bracket onto the compressor frame, aligning the mounting holes․ Secure the bracket with the supplied bolts, tightening to 25 ft‑lb․ Connect the motor’s power cable to the main switch, ensuring the cable is routed away from moving parts․ Attach the motor’s fan shroud, tightening the shroud screws to 12 ft‑lb․ Finally, reconnect the compressor’s tank to the motor housing, aligning the tank’s mounting flange with the motor’s flange․ Tighten the tank bolts to 30 ft‑lb․ Once all components are assembled, check for leaks by applying a soap solution to all joints and inspecting for bubbles․ If no leaks are detected, fill the tank with air to the recommended operating pressure and perform a functional test․ Ensure the safety relief valve opens at the correct pressure and that all gauges read accurately․ The unit is now ready for operation․!Check align․OK
Maintenance and Troubleshooting
Perform monthly oil checks, replace filter every 200 hrs, drain condensate weekly․ Inspect belts for wear, replace when cracked․ If pressure drops, check relief valve, clean inlet․ For overheating, ensure proper ventilation and clean fan․ Follow the manual’s safety warnings․!!!! Replace filter if dirty,check gauge․
5․1 Routine Maintenance Checklist
Follow this checklist to keep the Craftsman 919 running efficiently; Perform tasks at intervals in the manual and log each service․

- Oil Change: Replace oil every 200 hrs or yearly․ Drain, replace filter, refill to level․
- Air Filter: Inspect every 50 hrs․ Clean or replace if clogged․
- Belt: Check for cracks or slack․ Tighten or replace per torque spec․
- Gauge: Verify accuracy monthly․ Adjust if reading deviates >5 psi․
- Valve: Test every 100 hrs․ Replace if it fails to open․
- Drain: Empty condensate weekly․ Ensure hose is clear․
- Electrical: Inspect wiring for corrosion․ Tighten or replace damaged wires․
- Cleanliness: Keep area dust‑free․ Ensure ventilation unobstructed․
Adhering to this schedule extends lifespan, improves reliability, and ensures safe operation․ Replace worn parts immediately and consult the parts manual;
For optimal performance, use the recommended oil type and keep the compressor in a well‑ventilated area․ Avoid over‑charging the tank; keep the pressure gauge within limits․ If the compressor stalls, check the inlet filter and the pressure relief valve․ Regularly inspect mounting bolts for tightness․!!!!!!!!
Keep a spare set of filters and a spare belt for quick replacements․ Store the compressor in a controlled environment to prevent oil degradation and ensure consistent performance․!!!!!!!!!
5․2 Common Issues and Fixes
Below are frequent problems reported by Craftsman 919 owners and proven remedies․ Follow each step carefully and refer to the parts manual for exact part numbers․
- Low Pressure: Check the pressure relief valve for blockage․ Clean or replace the valve seat if it sticks․ Verify gauge․ Ensure gauge reads correctly․
- Overheating: Ensure the cooling fan is operational and the air intake vents are clear․ Replace fan motor if vibration․ Check sensor accuracy now!?
- Oil Leak: Inspect the crankcase seal and oil filter housing․ Tighten filter housing bolts to torque․ Replace seals that are cracked․ Check oil level for sludge!
- Noise or Vibration: Check motor bearings and replace if play․ Lubricate bearings grease!?
- Inconsistent Airflow: Clean the inlet filter and check the suction hose for kinks․ Replace filter if airflow drops below 70 CFM․ Ensure filter not clogged!?
- Electrical Issues: Test the main fuse and circuit breaker․ Replace blown fuses․ Check for loose connections․
- Condensation Build‑up: Drain the tank daily․ Install condensate pump in humid areas․ Check the pump for leaks!?․
- Motor Stall: Check capacitor if it fails continuity․ Verify capacitor voltage!?
For persistent problems, contact Craftsman service or consult the troubleshooting section of the manual․ Document all repairs and keep a maintenance log for future reference․